Understanding Ice and Water Shield for Roof Protection
Key Highlights
- Ice and water shields are specialized roofing underlayments designed for sloped roofs to combat water leakage caused by ice dams and wind-driven rain.
- These shields use aggressive rubberized asphalt adhesive layers and slip-resistant polyethylene films for enhanced waterproofing.
- With over 45 years of proven efficacy, ice and water shields are synonymous with durability and longevity under residential roofing, backed by important documents that enhance user understanding.
- Proper installation involves preparing the roof deck, applying fasteners, and prudent use of overlaps to maximize protection.
- These shields minimize repair costs and promote sustainability, supporting a circular roofing shingle economy.
Introduction
When you think about home roofing, keeping your house safe from water damage is very important. The ice and water shield underlayment helps stop leaks due to ice dams and rain blown by the wind. These shields create a barrier between the roof deck and the outside shingles. This way, they provide better waterproofing and help your roof last longer. Thanks to modern rubberized asphalt technology, ice and water shields work well in different weather. More people are now seeing them as top choices for roofing protection.
What is Ice and Water Shield?
Ice and water shield is a special type of roofing underlayment that helps prevent water from entering due to ice dams or heavy rain. This membrane sticks to the roof and gives extra protection. It makes roofs last longer and stay strong, especially in cold climates.
Definition and Purpose
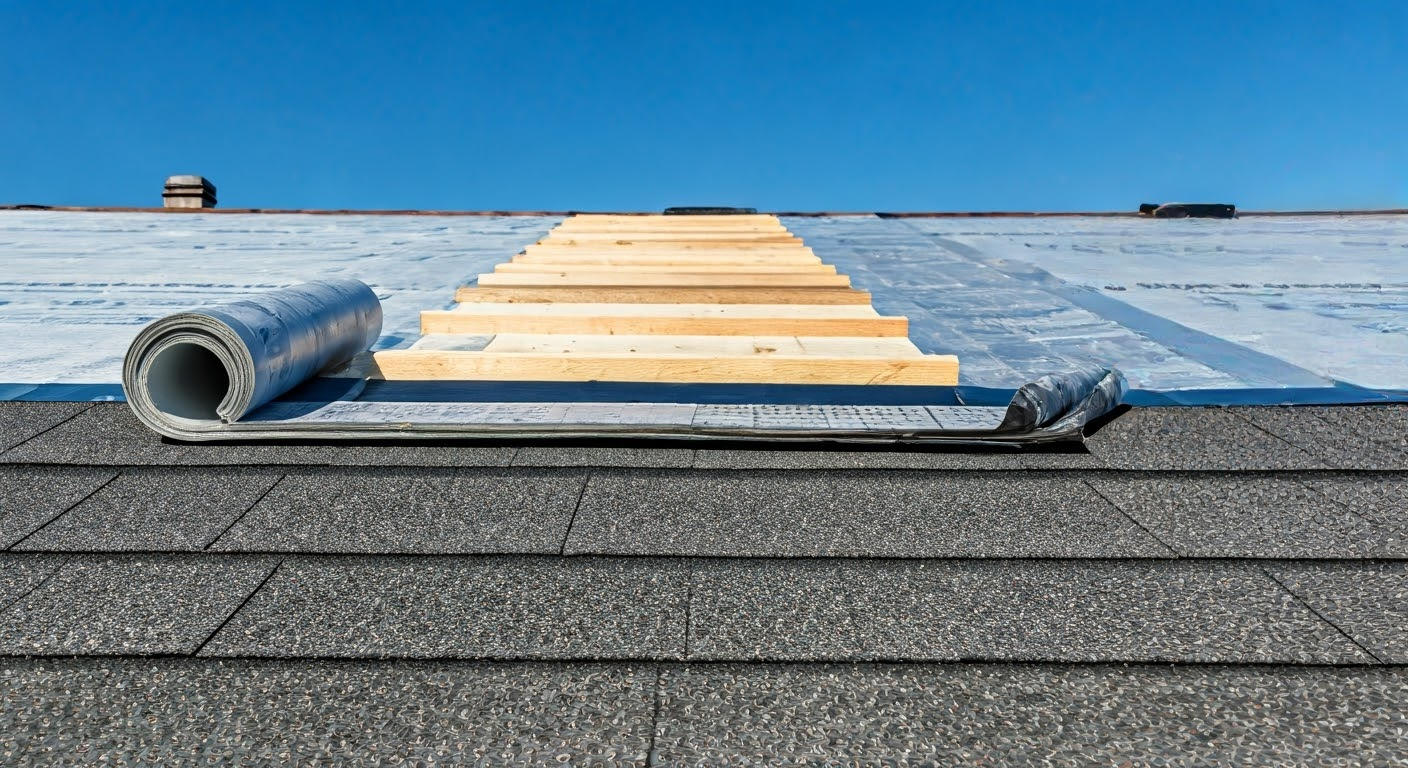
Ice and water shields are special waterproofing materials, sometimes made with polymer-modified bitumen. They are used under roof coverings. These roofing underlayments stick to the roof and are made of rubberized asphalt adhesives with slip-resistant polyethylene films. This dual-layer premier membrane helps protect roof decks from water damage caused by ice dams and rain driven by the wind.
Their design makes them easy to apply. They have features like foldless release paper and RIPCORD® technology that allow you to split the release on demand. You can place them accurately even in tricky spots like dormers and valleys. You can use them underneath asphalt shingles, metal roofing, slate, or cedar. These shields fit many roof types and conditions. They stick very well to roof decks without needing heat or special adhesives. This ensures they provide watertight laps that are crucial for protecting roofs.
Ice and water shields are versatile and durable for decades. They also have eco-friendly options that simplify re-roofing projects. These shields represent innovation in roofing underlayment solutions.
Importance of Roof Protection
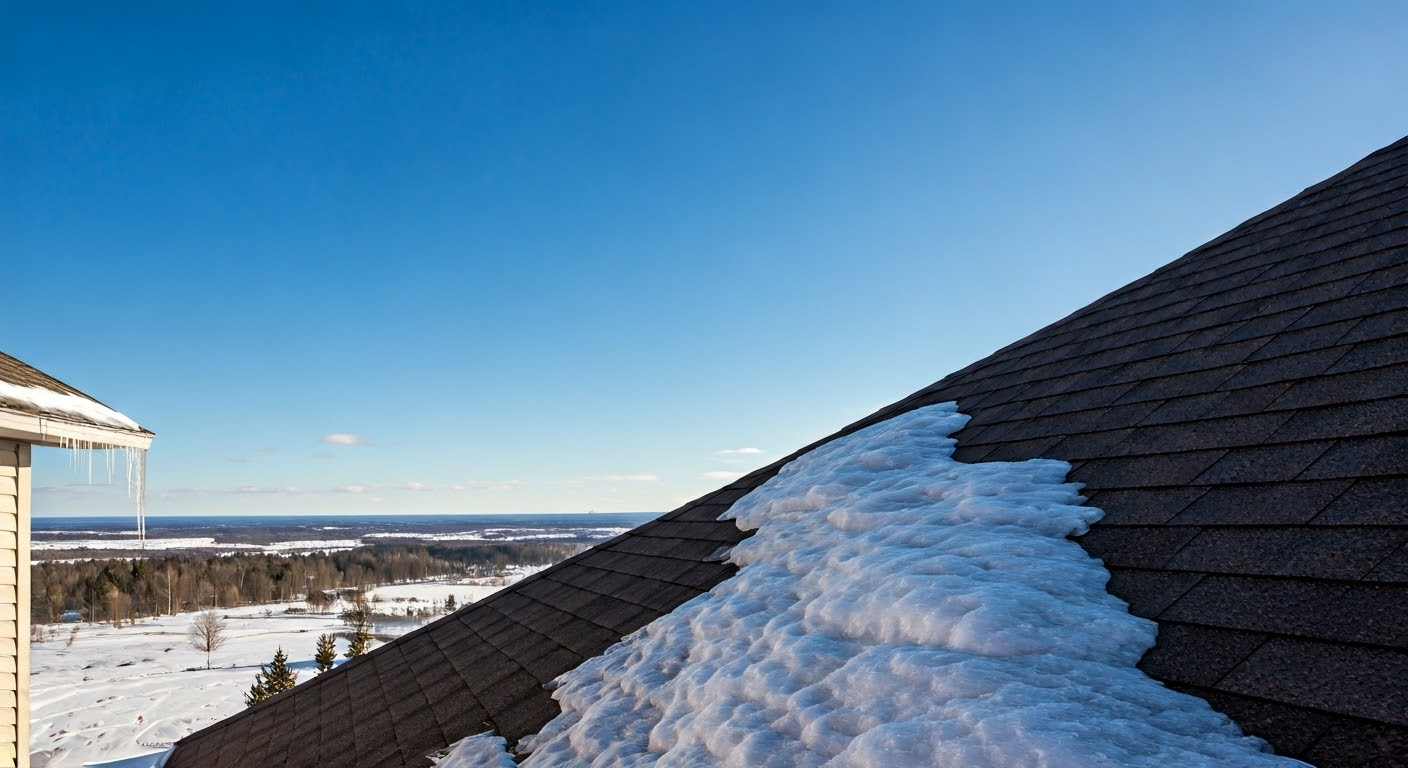
An ice and water shield is very important for protecting roofs, especially in areas where ice dams happen. Made of strong rubberized asphalt layers, it seals around fasteners and keeps roof decks safe from water leakage. This material mix provides flexibility and strength, adapting well to different temperatures.
The shield is made for sloped roofs and is a strong layer under shingles or metal roofing. It creates a solid barrier. Its slip-resistant texture promotes safety during installation. The excellent adhesion means no special adhesives or heat treatments are needed. This feature helps keep the roof strong, even in harsh winter conditions.
Ice and water shields help prevent cracks in the underlayment from rotting or drying out, extending the life of the roof system. Installing them at key areas, like valleys or where something sticks out, provides great protection from moisture. Learning about the different types available can show how versatile they are.
Types of Ice and Water Shields
Ice and water shields come in different types to fit various roofing needs. Self-adhesive shields use strong rubberized asphalt glue for easy application. On the other hand, shields with granulated surfaces offer better grip. This adds safety for workers installing them. Each type has its benefits based on needs, like residential roofing or cold climates. Whether you want easy installation or more durability, these underlayments provide flexible solutions. Looking into their unique features shows how the right type can improve your roof’s performance.
Self-Adhesive Shields
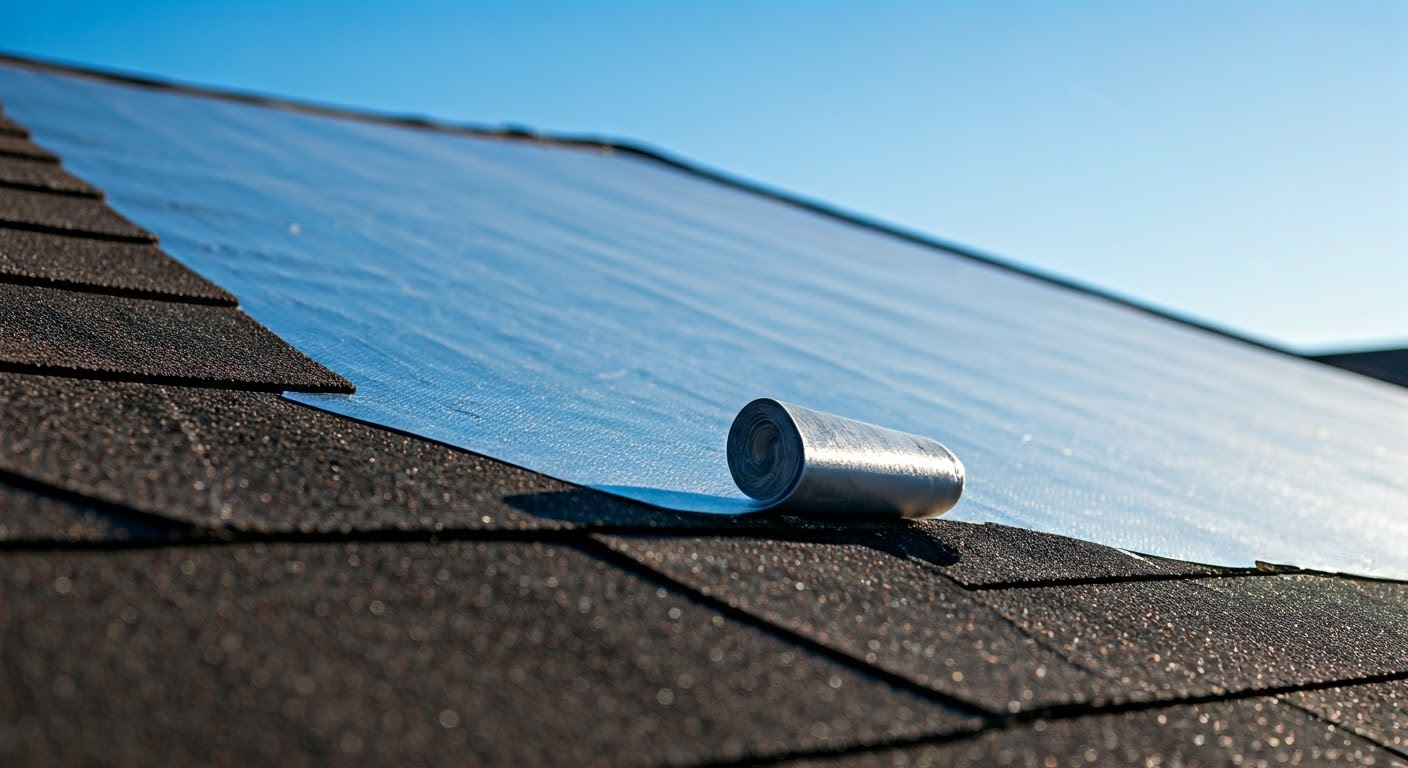
Self-adhesive shields are a popular option because they are easy to apply. They use strong rubberized asphalt adhesives that stick well to roof decks. This means you don’t need heat treatments or special adhesives. This simple method significantly reduces installation time, making it great for quick jobs.
These shields have RIPCORD® technology, which lets workers split-release when needed. This helps with tricky areas like valleys, skylights, and dormers. The faster application of the membrane is supported by the adhesive, which easily makes watertight overlaps. This gives a strong moisture barrier under regular sloped roofing materials.
Also, self-adhesive shields work well for retrofit jobs. They make re-roofing easy without taking out the old underlayment. They have proven strong performance over many years. They resist cracking and rotting, showing they provide good roof protection. Their ease and flexibility make them a wise choice for fast installations.
Granulated Surfaces
Granulated surface shields add an extra layer of functionality. Designed with textured surfaces, they enhance installers’ traction, improving safety during application, especially on sloped roofs. This granulated finish pairs seamlessly with hot mix asphalt, shingles, metal roofing, cedar shakes, or tiles, reinforcing their adhesive capability.
These shields excel in offering reliable adhesion while simplifying reroofing operations. Unlike smooth membranes, granulated variants prevent adhesion to the undersides of exposed roofing, making them easier to replace.
Below is a table outlining key benefits of self-adhesive vs granulated surface shields:
| Feature | Self-Adhesive Shields | Granulated Surfaces |
|---|---|---|
| Adhesion | Aggressive rubberized asphalt adhesives | Textured surface for improved grip |
| Installation Process | RIPCORD® technology for precision adjustment | Easier reroofing operations |
| Application Areas | Suitable for intricate areas like skylights | Enhanced compatibility with shingles |
| Safety During Installation | Smooth surface for ease of application | Granulated texture for better traction |
Understanding these differences helps tailor a solution based on your roofing needs.
Benefits of Using Ice and Water Shield
 Ice and water shields offer many benefits that last long after they are installed. They help prevent roof leaks and protect residential roofing in severe weather. They last a long time and keep your roof safe, even in cold areas where ice dams can form. With slip-resistant surfaces and watertight seams, these shields save you money over time. They help keep your roof in good shape and lower repair costs. Looking at their specific advantages is helpful for understanding their value better.
Leak Prevention
Leakage in residential roofing can cause severe damage and high repair costs. Ice and water shields help prevent this problem. They seal against water build-up from ice dams and wind-driven rain and create overlaps to direct water away, reducing leaks.
Another essential feature of these shields is their strong seal around fasteners. The rubberized asphalt layer tightly covers the fasteners, keeping water from seeping in. This makes them very durable for different types of roofs, especially those with slopes.
These shields work well even in harsh conditions, thanks to their strong sticking power and ability to resist the weather. Installing them at weak spots, like valleys, eaves, and places where things stick out, helps reduce leaks even more. This reliable solution removes common problems from moisture getting in, showing how important these shields are in roofing. They also help roofs last longer.
Longevity and Durability
Cold climates require strong roof protection, and ice and water shields provide it. These shields are durable. They do not crack, rot, or dry out even in harsh weather. Their rubberized asphalt layers are made to take many freeze-thaw cycles, ensuring they work well.
These shields also have slip-resistant surfaces, which keep you safe and support the roof’s strength. When these shields are installed with good insulation and ventilation, they help reduce ice dam problems and keep moisture inside in check.
Moreover, these shields help with sustainability. They fit well with re-roofing projects. With over 45 years of success, their ability to handle extreme weather and variable climate conditions stands out. Getting these shields for your roof is a wise choice to make it last longer and give you peace of mind.
Installation Guidelines
Installing ice and water shields requires careful preparation of the roof deck. For the best results, keep the structural decks clean and dry. Smart installation methods will help you create secure overlaps and protect against water when working on valleys, eaves, or ridges. It’s important to work during nice weather and to use the right fasteners and adhesives to attach the membrane properly. By taking these steps, you lay the right groundwork for dependable roof protection.
Preparing the Roof
Preparing the roof is very important for the best performance of the ice and water shield. First, clean the roof deck to remove dust, dirt, or anything sticking out. Make sure the structural deck is dry and has no gaps or damage. Good materials for the deck include plywood, metal, and gypsum sheathing.
If you are working on concrete or masonry surfaces, use PERM-A-BARRIER® WB PRIMER. This helps improve adhesion. Apply the primer as suggested in the technical guidelines to create a smooth surface. If adhesion is still a problem, you may need to take extra steps when using wood or gypsum.
Following these steps helps the membrane be applied successfully. If you skip this part, you may weaken adhesion and the overall protection. Carefully preparing will ensure that the shield can create watertight overlaps.
Step-by-Step Installation Process
Installing ice and water shields is easy if you follow these steps:
- Prepare the deck: Clean it well and ensure no holes or damaged spots.
- Cut the membrane: Cut pieces 10–15 feet long to make them easier to handle.
- Peel the release liner: Start at one edge to carefully line up the membrane.
- Press into place: Use firm hand pressure to ensure it sticks well.
- Ensure proper laps: Make side overlaps of 3.5 inches and end overlaps of 6 inches to stop leaks.
- Focus on critical areas: Put on double layers near eaves, valleys, and walls that might get ice dams.
Always work from the lowest point upward and follow good roofing practices. These steps will help you install efficiently and provide the best protection. In the end, remember the main points about the shields’ features.
Conclusion
In conclusion, knowing about ice and water shield is important for anyone who wants to protect their roof well. These materials help prevent leaks and make your roofing stronger and last longer. By picking the right ice and water shield and installing it correctly, your roof can handle bad weather and stay in great shape for many years.